
Messaging in Scrivener: 5 Project notes
This is the fifth of a series posts introducing the topic of messaging in Scrivener
And today’s post is all about notes, in particular: project notes.
Essentially, there are four options for messaging:
- 1 Annotations
- 2 Footnotes
- 3 Comments
- 4 Project and document notes
Depending on what you are trying to achieve, choosing the best of the four options could make life easier for you in the long run, so learning about all four makes sense.
What are notes?
Within the Inspector, it’s possible to record notes that relate to a single document, and/or to the project as a whole.
This post focuses on project notes; document notes were explained in a previous blog post.
Project notes – where are they?
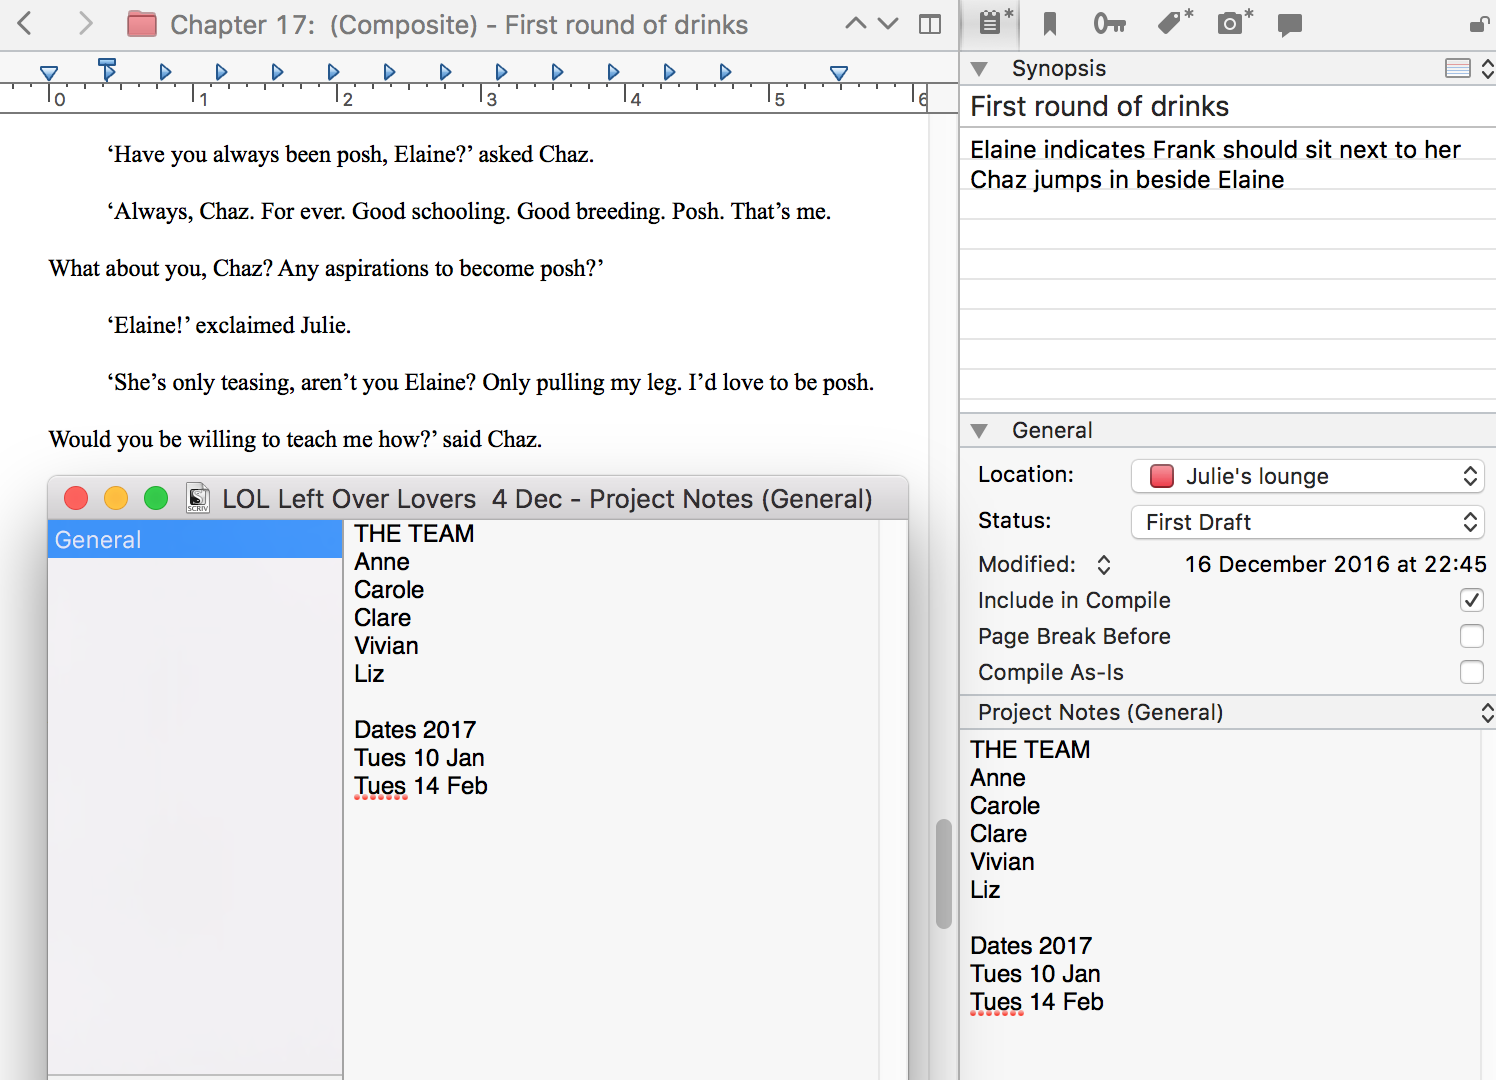
These are available to view in two places, both illustrated below.
- Project notes are available within the Inspector, regardless of what’s on view in the Editing pane. They share the same space as the document notes; click the up/down arrows to toggle between the available options.
- You can also view project notes in a floating window. Select Project / Project Notes.
Project notes – why use them?
When you first start a new project, this option might prove useful for initial ideas, or information that the whole team needs to share, before you’ve started to construct much within your binder.
My recommendation is that you (eventually) set up project-wide material within your Research folder. For example, creating a My Story folder in which to store various treatments is good practice as explained in this post.
However, in the first instance, the project notes might serve you well.
How do project notes work?
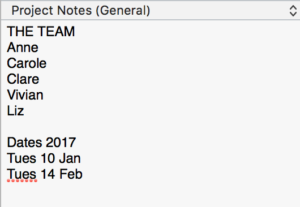
Scrivener treats project notes as rich text fields. This means the text can be formatted, and you can include images.
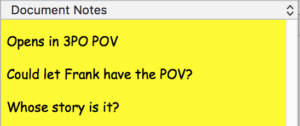
The text of project notes is automatically styled differently from document notes.
Notice that my project notes are in Helvetica while my document notes are in Comic Sans font.
You can also personalise the style via Preferences / Appearances.
For example, choosing a different background colour for each could help you to distinguish them even more.
Multiple project notepads
If a single project note is insufficient, you can create multiple project notepads!
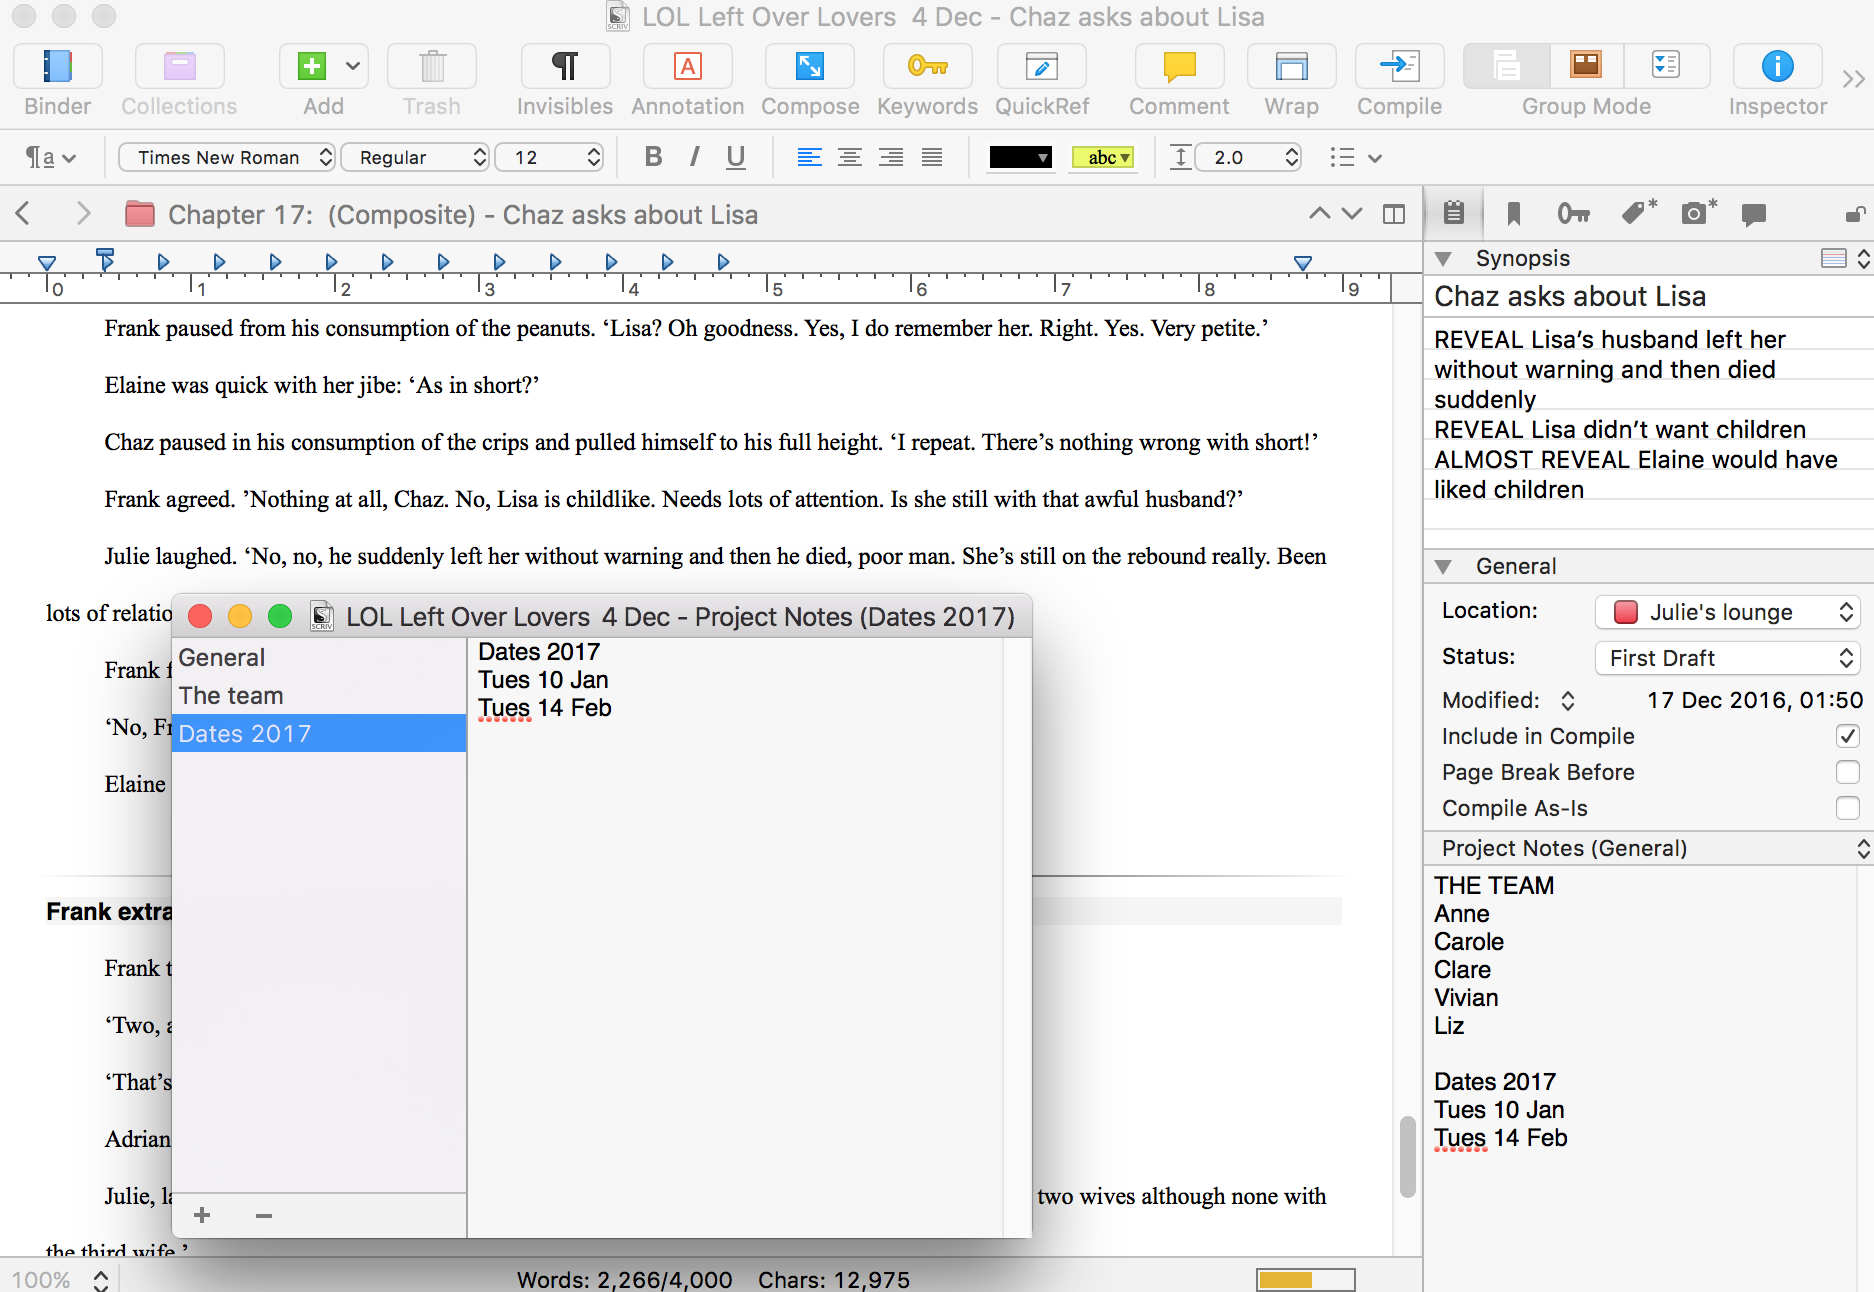
As an example. I’ve created two project notepads (The team, and Dates 2017) to split up the data in my General Project note.
How is this done?
Select Manage Project Notes. At the bottom left of this floating window, there’s a +. Click this + sign to create additional project notepads.
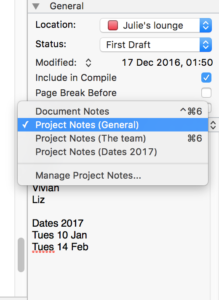 Having created additional notepads, when you click on the toggle button for document/project notes, all the available pads are listed.
Notice that Cmd 6 rotates continuously through the options and that Ctrl / Cmd 6 rotates through the list in the opposite direction. For both of these commands, if you get to the top or bottom, they keep going; it’s an endless cycle.
Back to the floating window!
The minus sign on the floating window deletes a selected project notepad.
You also have the option to rename any of the project notepads. Double click on its name in the side bar of the floating window. Type the new name.
What’s the downside of project notes?
It’s not possible to export the project notes unless you copy and paste them to a document within your binder. So, it’s best to restrict project notes to information that is useful to those working on the project but not to be published elsewhere.
- A team list with contact details and photos
- The schedule for writing, editing, proofing, and publication
If you have any questions about project notes, please leave a comment on this blog, or on my ScrivenerVirgin Facebook page.
The ScrivenerVirgin blog is a journey of discovery:
a step-by-step exploration of how Scrivener can change how a writer writes.
To subscribe to this blog, click here.
Also … checkout the Scrivener Tips
on my ScrivenerVirgin Facebook page.


online education programs
7 February 2017 at 13:22Pretty nice post. I just stumbled upon your weblog and wished to say that I have truly enjoyed surfing around your blog posts. In any case I’ll be subscribing to your rss feed and I hope you write again very soon!
rainbowmaker
7 February 2017 at 14:20I post every week or so, and hope you enjoy what you read.