
ProWritingAid: Works with Scrivener
This is post 10, the final post, of my series looking at how ProWritingAid works with Scrivener. I hope you decided to trial ProWritingAid and have been working alongside me in exploring its features.
One question that I haven’t answered so far:
How exactly does ProWritingAid work with Scrivener?
Simple … this is how, on my Mac.
1: Go to the ProWritingAid site
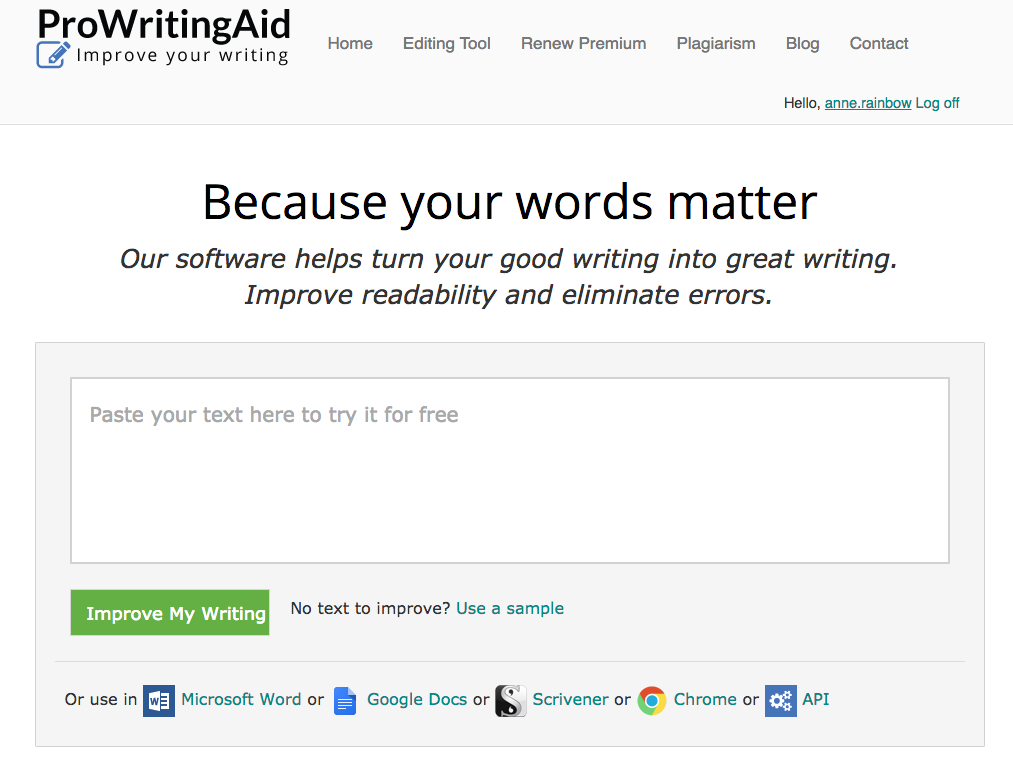
2: Click on the Scrivener link to download a free trial of ProWritingAid and follow the instructions
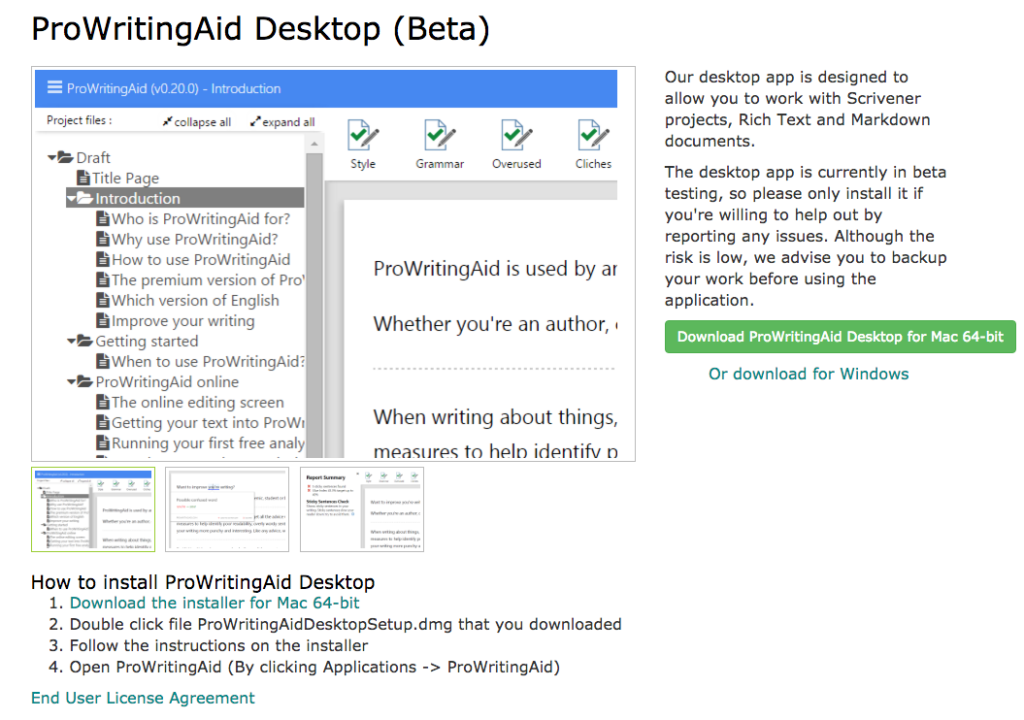
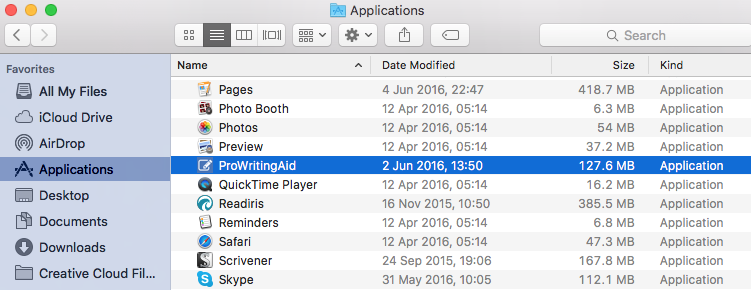
3: Open the ProWritingAid application from within Finder
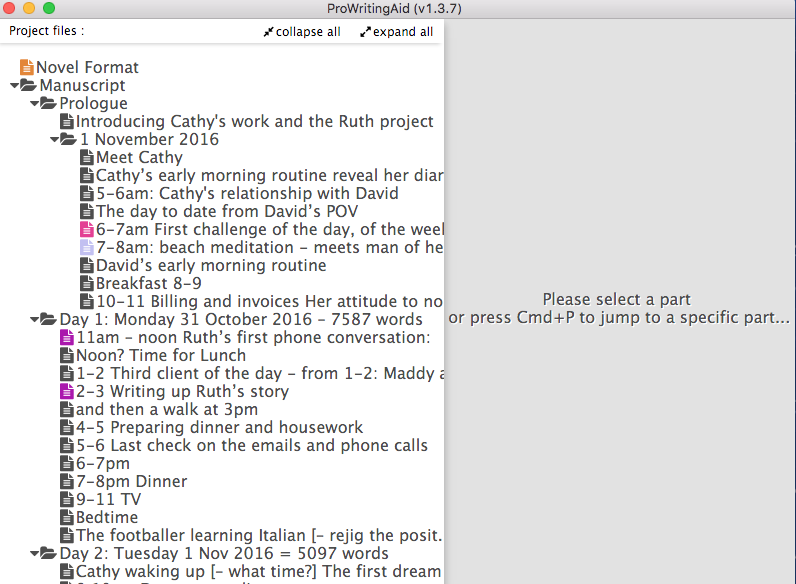
4: Open the Scrivener project file from this dialogue box
5: Select the Scrivener document within your project
You’ve seen already screens with reports in the left pane and text on the right. Imagine opting for a report and making some changes to a scene. When you try to choose a different scene to work on, this message pops up.
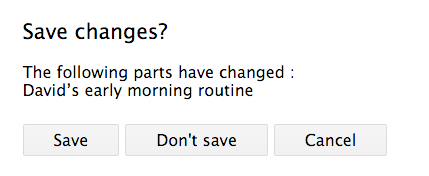
Clicking on Save updates your Scrivener project file. Easy!
And? There’s more?
- ProWritingAid offer a free eBook for you to download.
- If you’re interested in learning more about the Red Pen Editing cycle, my book is available on Amazon, only £2.99.
The ScrivenerVirgin blog is a journey of discovery:
a step-by-step exploration of how Scrivener can change how a writer writes.
To subscribe to this blog, click here.
Also … checkout the Scrivener Tips
on my ScrivenerVirgin Facebook page.


No Comments