
Metadata: Using the Label field for Location
Location, location, location
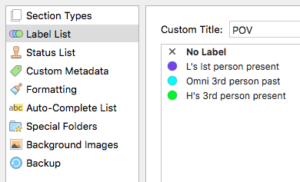 It’s up to you what data you assign to the Label field. I quite often use it for POV (point of view).
With my 2012 NaNo novel Aide Memoire, though, there is only one POV so I’m using the Label field for the location of each scene.
Setting up the Label field
When you start a new project, the default settings for the Label field are Idea, Notes, Character Notes, Chapter, and Scene.
![]() To edit these settings, click on the up/down arrow beside ‘No label’ at the foot of the Inspector panel and choose Edit.
To edit these settings, click on the up/down arrow beside ‘No label’ at the foot of the Inspector panel and choose Edit.
Using Scrivener 2? Check out this post where I explain both the Label and Status fields.
Label List pane
In Scrivener 3, you will then see the Label List pane.
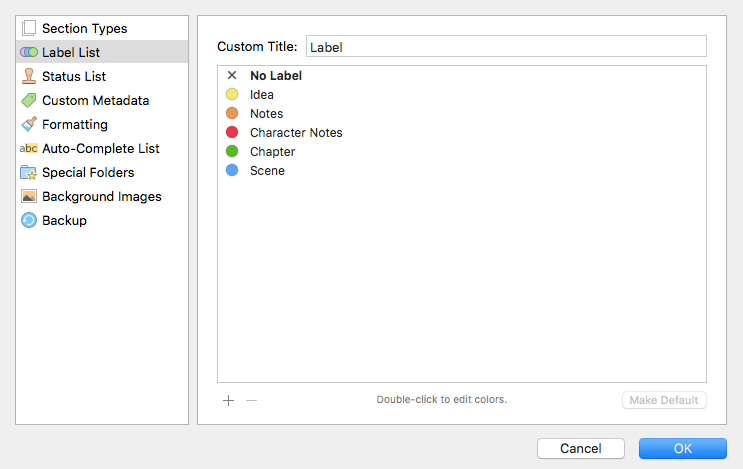
Click on the Custom Title field and replace ‘Label’ with whatever use you’ve decided for this metadata option. For me, it’s Location.
![]()
Label List entries
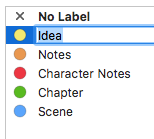 According to the different locations that are relevant to my novel, I assign a colour.
I double-click on an entry and replace the text with my own.
I repeat this until I have replaced some or all of the original default values.
- If you need more entries, click on the + sign at the bottom left of the pane. It will be added after whichever entry you have selected.
- If you want to delete an entry, select it and click on the minus sign (also at the bottom left of the pane).
Customising the Label List
If you are not happy with the order of entries, click on one and drag it into your preferred position.
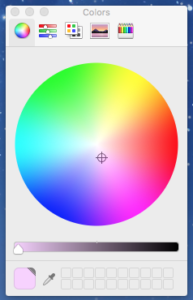 If you are not happy with the colour for one of your labels, double-click on the circle of colour to open the Colour pane. There are five ways of selecting a colour!
This is how mine looks now:
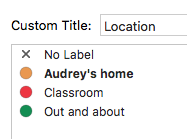
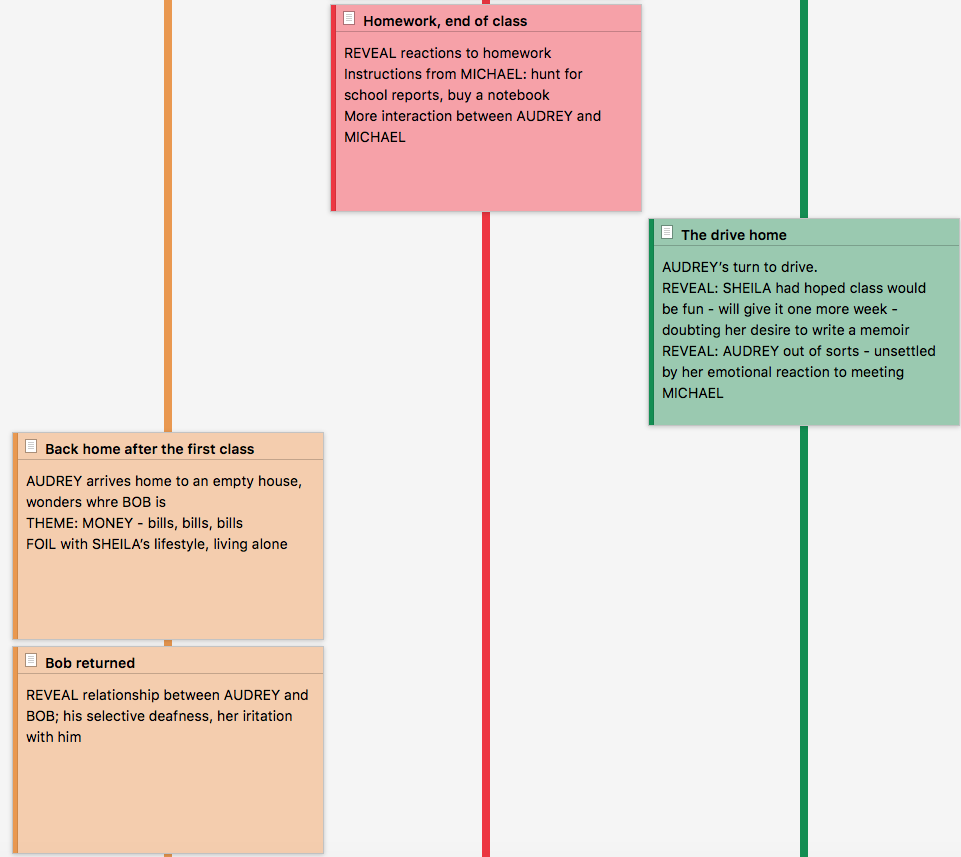
As I continue to work through my manuscript, I may add more. It’s important though, not to have too many as this field is used in the corkboard view to create separate threads.
Progress check
I set three tasks in a previous blog post:
- Task 1: Write an appropriate title and synopsis for each scene
- Task 2: Decide how to best use the Label metadata field – and apply to each scene
- Task 3: Output, using Compile, the scene synopsis for review purposes
This post has shown how to do Task 2. Next time, I’ll focus on Task 3.
Questions? Need a helping hand? Want a demo?
To watch me go through the process of setting up labels, or to ask any questions, book a Simply Scrivener Special.
To help me to prepare, you could also complete this short questionnaire.
The ScrivenerVirgin blog is a journey of discovery:
a step-by-step exploration of how Scrivener can change how a writer writes.
To subscribe to this blog, click here.
Also … check out the Scrivener Tips
on my ScrivenerVirgin Facebook page.


No Comments