
Scrivener: Using the Status field to track progress
 Status field to the rescue
In the past fortnight, I’ve continued to work through my NaNo novel, Aide Memoire, completing the tasks I set myself (and you!) in the post published on 16 April: Scrivener: The Editor’s tool.
I’ve had to break several longer documents into separate scenes and, in doing so, I’ve spotted scenes (already!) that I need to write, to fill gaps or expand on an event.
Knowing which documents need working on – when I take off my editor’s hat and put on my creative writer’s hat again – will save time later.
So, I decided to employ the Status field.
Status field to the rescue
This is the Scrivener default. It’s a good starting point?
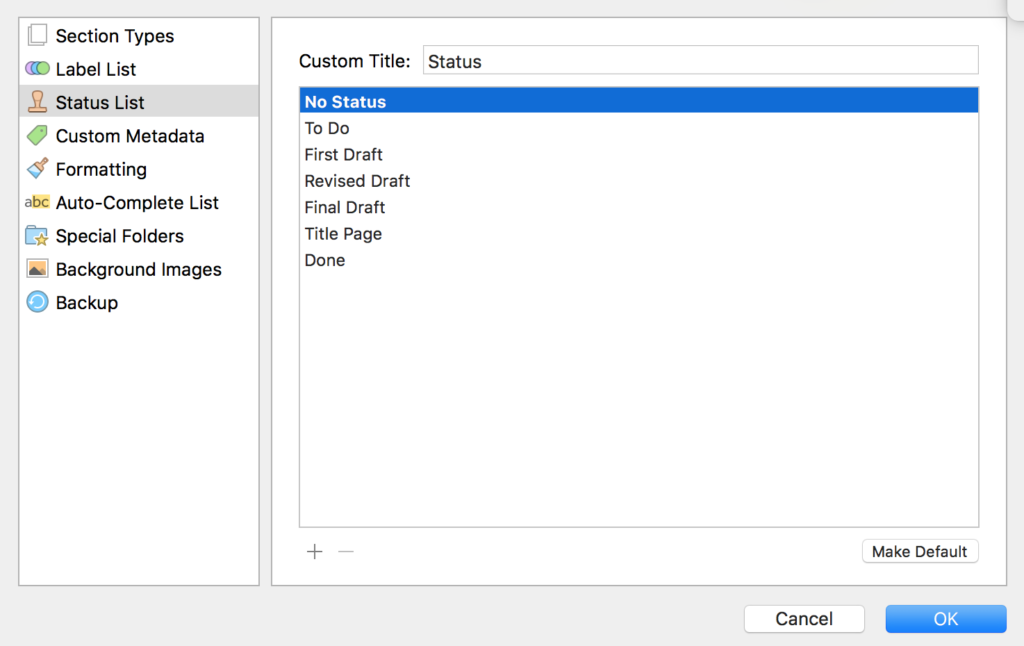
I decided, though, that I needed to have additional details of my progress for each document/scene. Especially, I needed a Status of ‘To be written’.
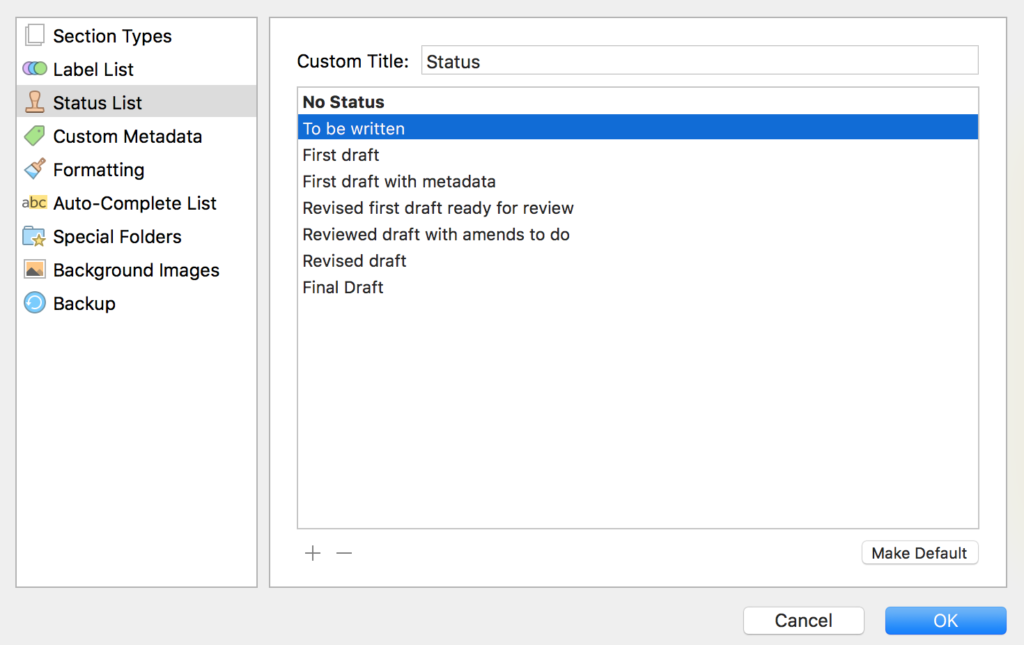
Because part of my editing process is to submit, chapter to chapter, to my Ria View Writers group, I included two more: ‘Revised first draft ready for review’ and ‘Reviewed draft with amends to do’.
Applying the new status options, the corkboard didn’t look any different!
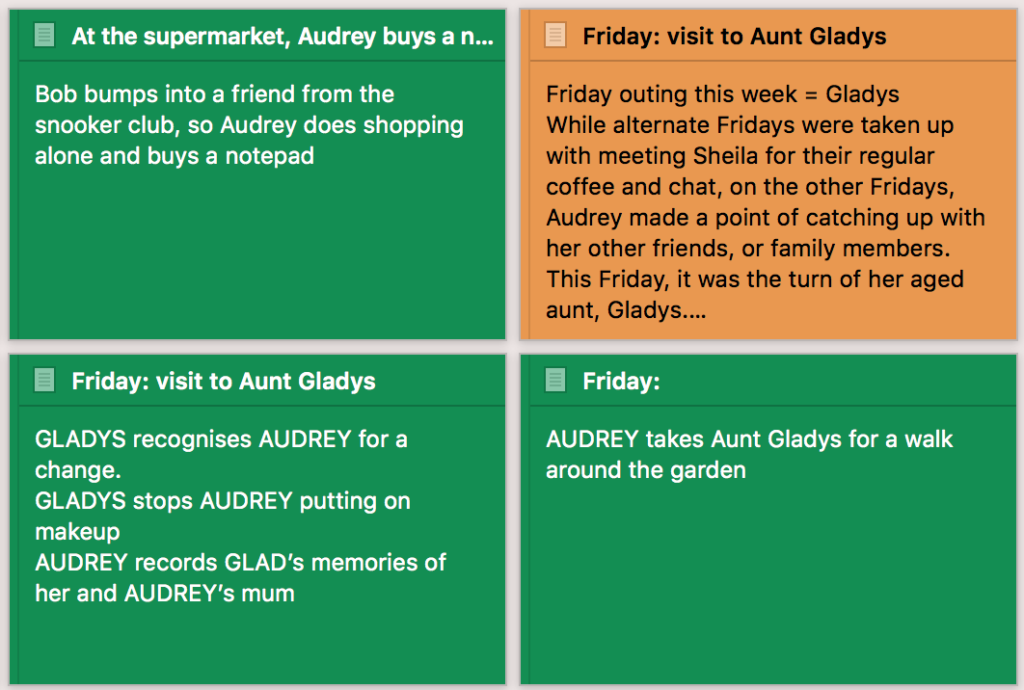
The Show Status Stamps option
Then I remembered … displaying the Status field on the corkboard is an option. I needed to turn that option on.
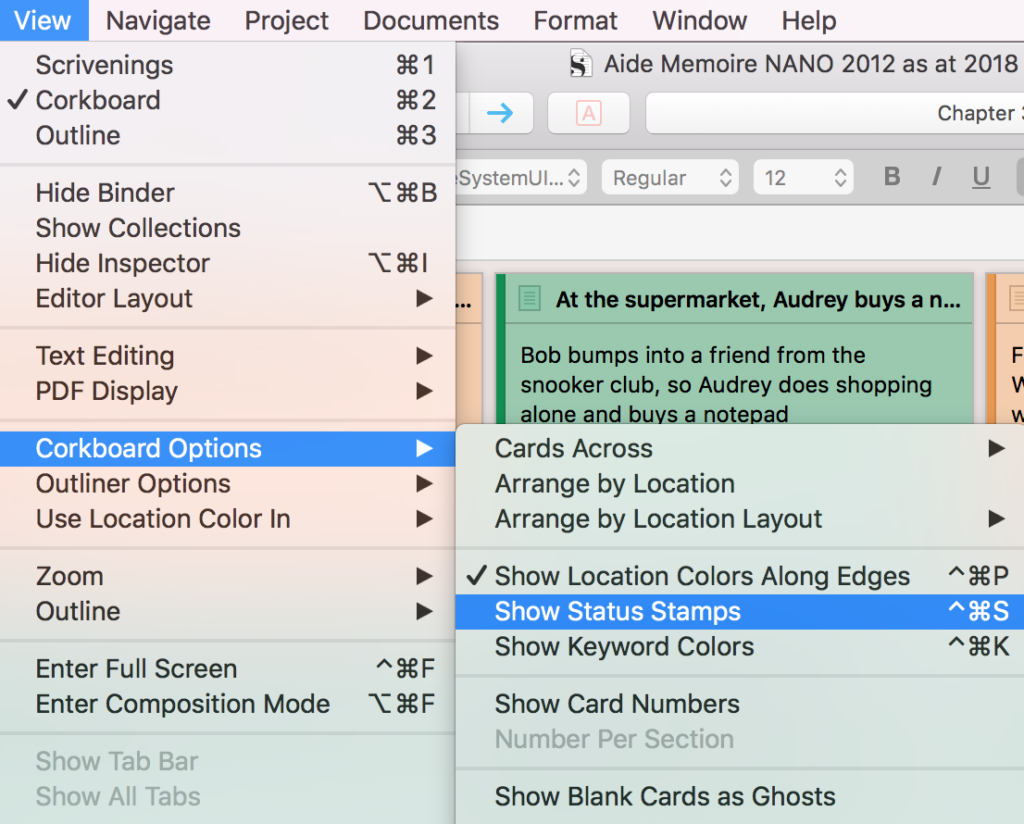
Still no sign of my stamps … so I checked the Scrivener / Preferences / Appearance to find that the default is a midway opacity.
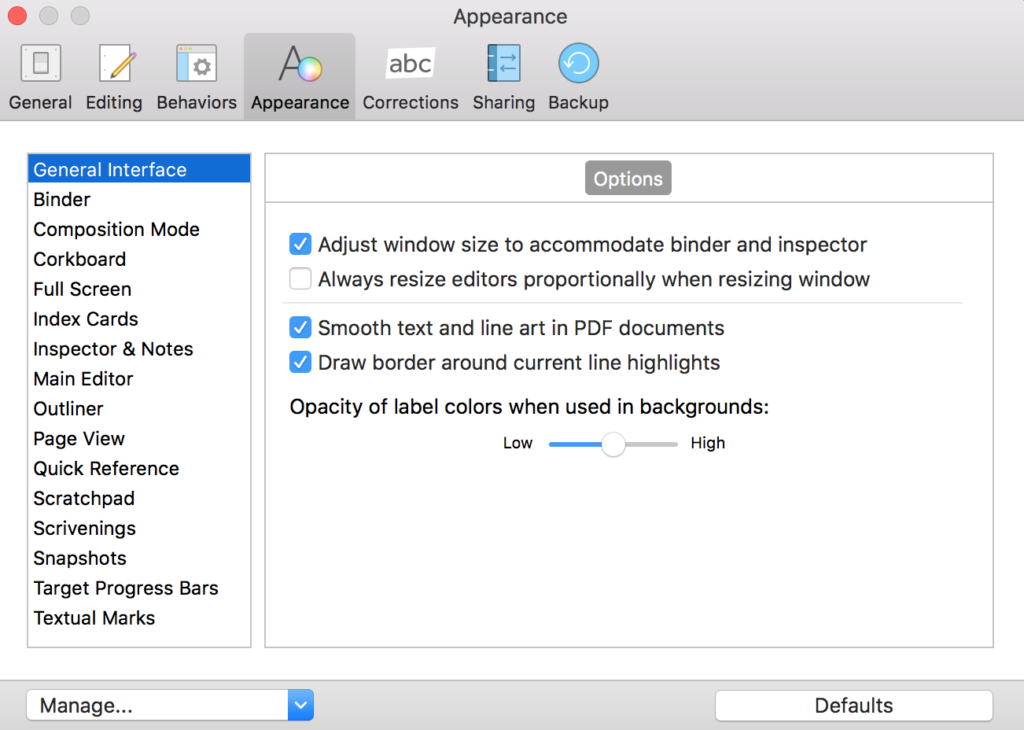
I needed to slide that to High. The net result: my stamps are visible, although I’m now rethinking my choice of colours for the Label field.
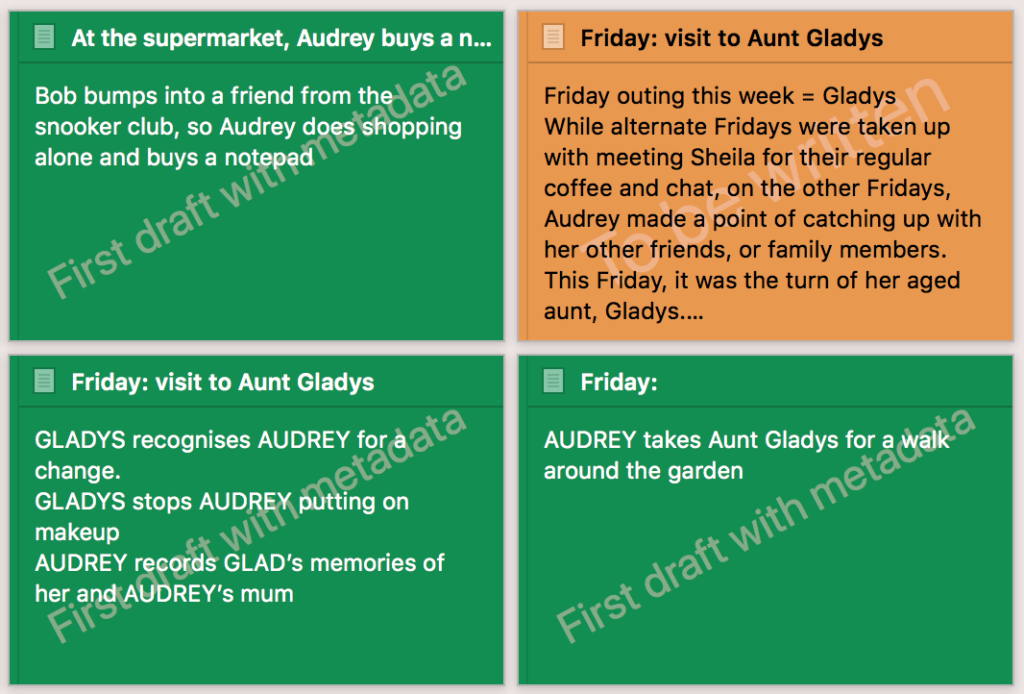
Still not content with how it looked, I checked Scrivener / Preferences / Appearance again and, yes, the colour of the Status stamps can be changed.
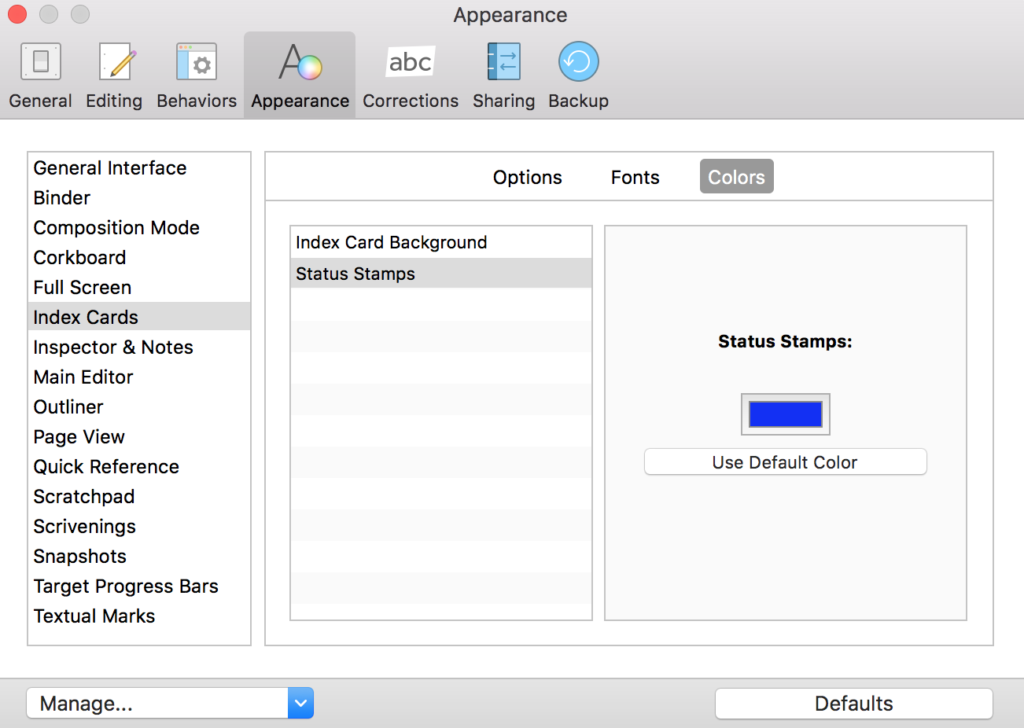
After a bit of experimentation, I settled on a bright blue. I also tweaked my messages because of the fewer characters, the greater the point size and the better clarity.
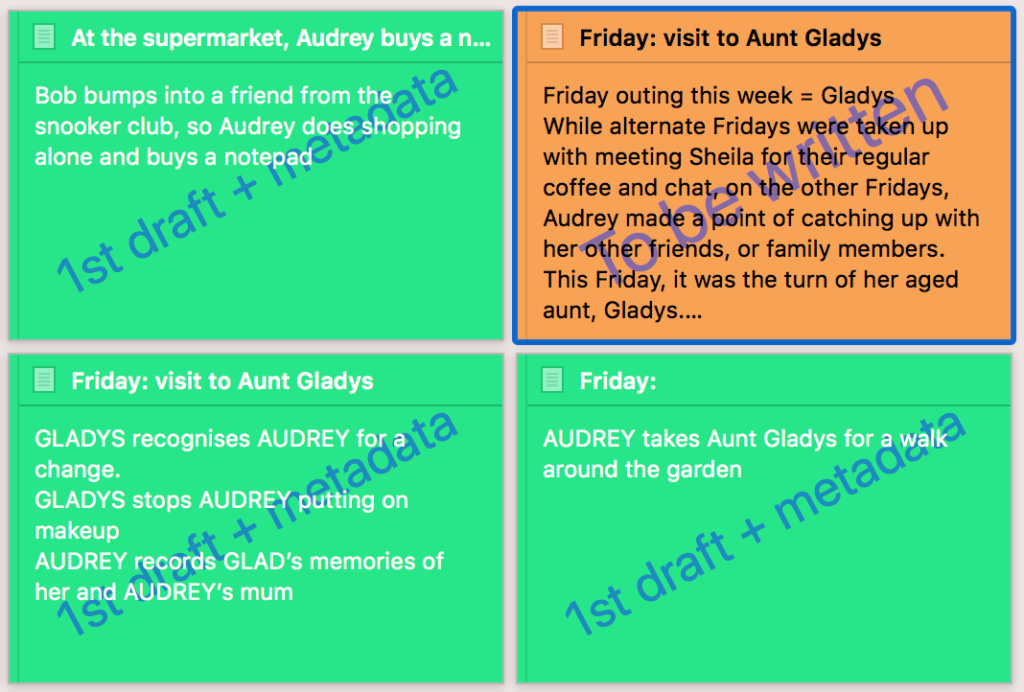 Now, I am happy!
Questions? Need a helping hand? Want a demo?
To watch me go through the process of editing the Status options, tweaking the appearance via Scrivener / Preferences, or to ask any questions, book a Simply Scrivener Special.
To help me to prepare, you could also complete this short questionnaire.
The ScrivenerVirgin blog is a journey of discovery:
a step-by-step exploration of how Scrivener can change how a writer writes.
To subscribe to this blog, click here.
Also … check out the Scrivener Tips
on my ScrivenerVirgin Facebook page.


Scott
23 August 2019 at 19:18Do you know of any way to show the history of status changes in Scrivener? My editing workflow includes a few iterative processes, where the status may go back and forth a few times, such as “In Editing Review” or “Return to Author” which have distinct meanings with my editing team. Being able to see how often the state changes is really useful, and I track it right now in a spread sheet.
Anne Rainbow
25 August 2019 at 15:58If you need to keep track of all the dates when parts of your manuscript goes in for editing review and when it is returned to the author, you could set up custom metadata (date type) for In-edit-1, Return-to-Author-1, In-edit-2, Return-to-author-2, etc. Then, view them all in the Outliner? Documents with lots of to-ing and fro-ing will stand out!