
Links in Scrivener
Links are also known as hyperlinks
Scrivener links are available as internal links (to another place in your book) or external links (to a website). NB there are other options, but this post is ‘keeping it simple’.
Internal links
Internal links allow the reader to leap from one place in your book to another, and only make sense if you are producing an eBook or outputting to PDF or Kindle.
If your end product is on paper, you’d give the reader the relevant page number (automatically generated by Scrivener) and expect the reader to flick through the book for themselves. But, with an electronic forms of output, the jump can be achieved by the reader clicking on the link – if you provide one.
Internal links are especially useful when creating a table of contents. That aspect of links is explained in this post. Here, it’s a simple link to another document in the same book …
How to insert an internal link
First, highlight the text that is to become the hyperlink. In my example, it’s the word ‘colon’. Then, right click to reveal the option ‘Link to Document’. Select that and consider the suggestions. If one suits your needs, select that suggestion as the destination for this hyperlink.
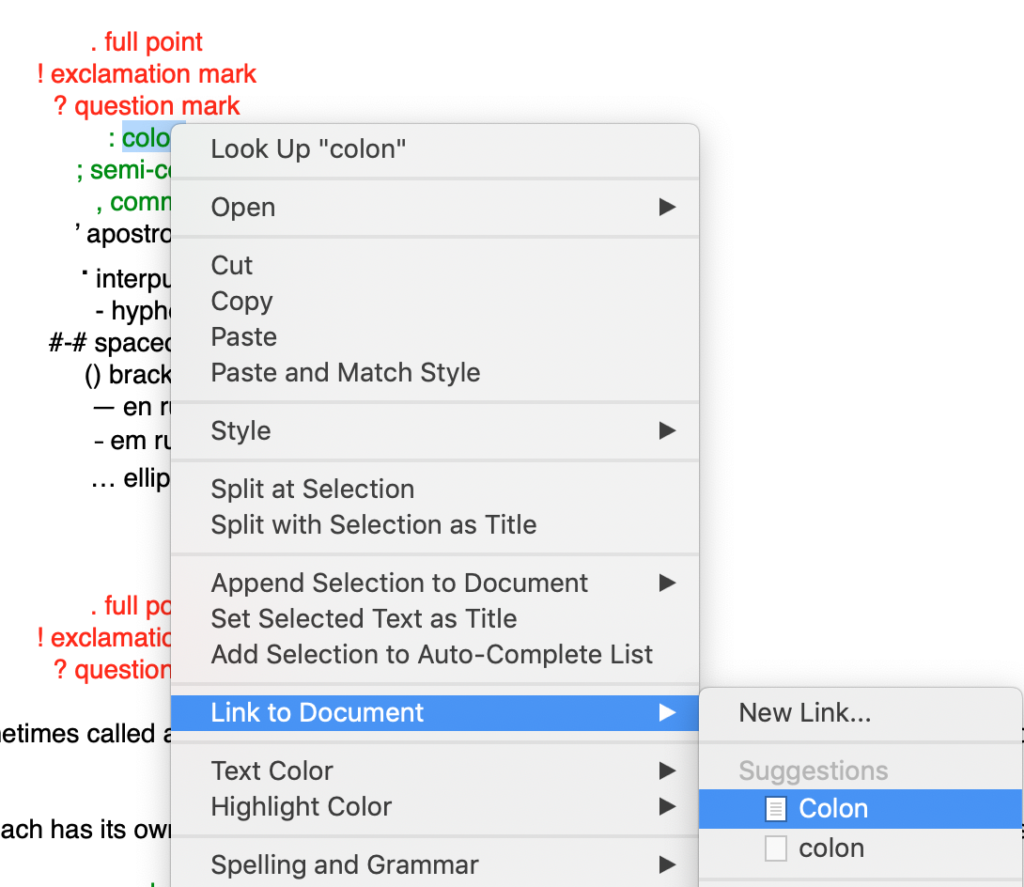
Scrivener underlines the link text. Then, move on to create the next link. Highlight the word and right click. And then the next … and so on.
If no suggestions are offered, click on New Link.
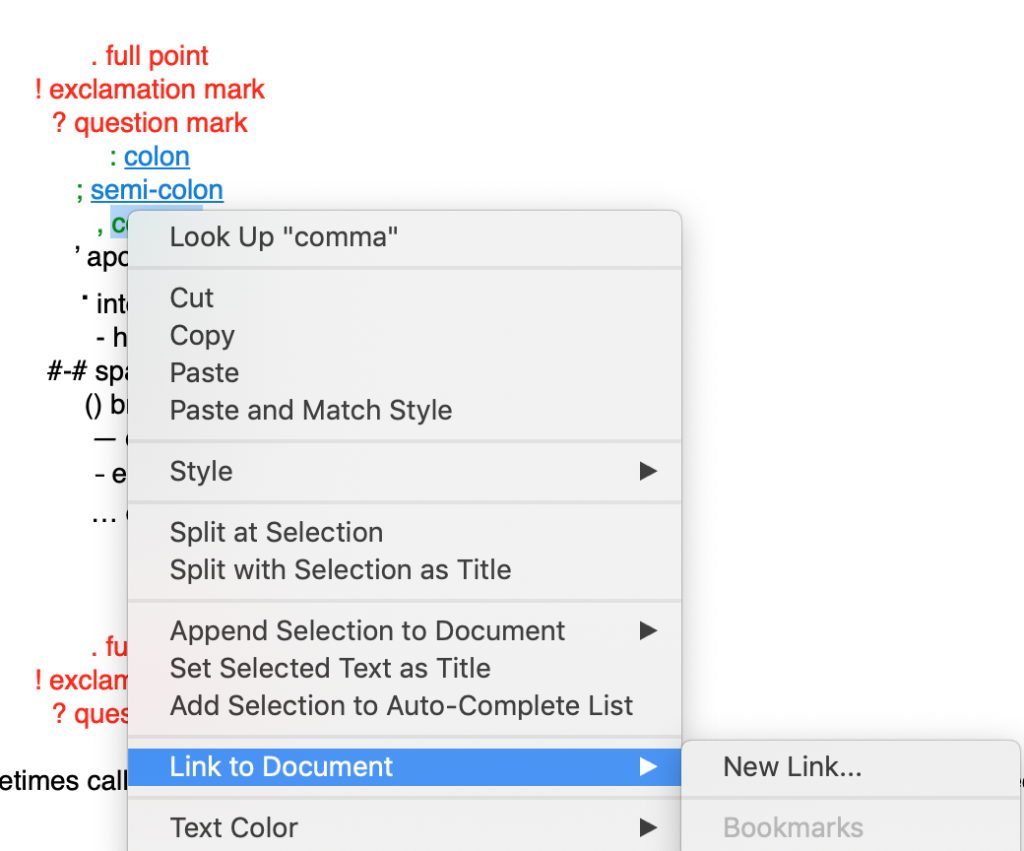
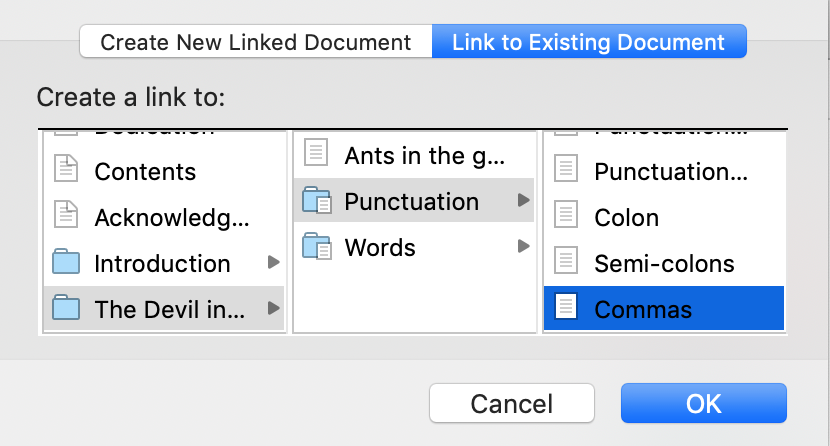
That will open this window. You can then browse within the Binder structure to find the destination document.
When it’s time to compile, make sure you have set up the right conditions for hyperlinks. Tick the box for ‘Convert document links to HTML links’.
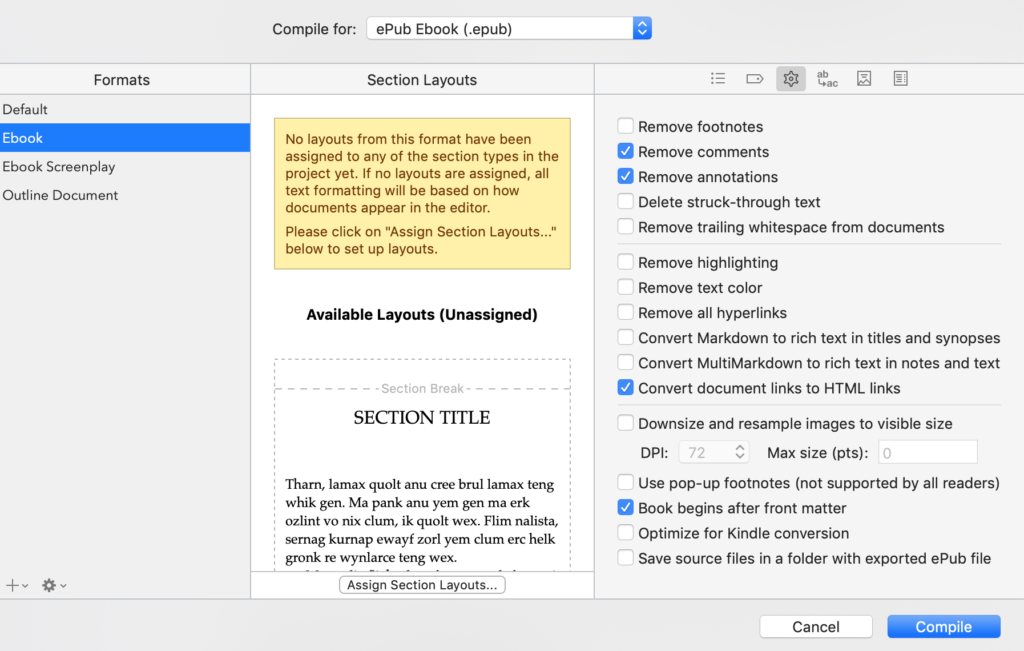
This is how the hyperlinks looks on screen in the ebook.
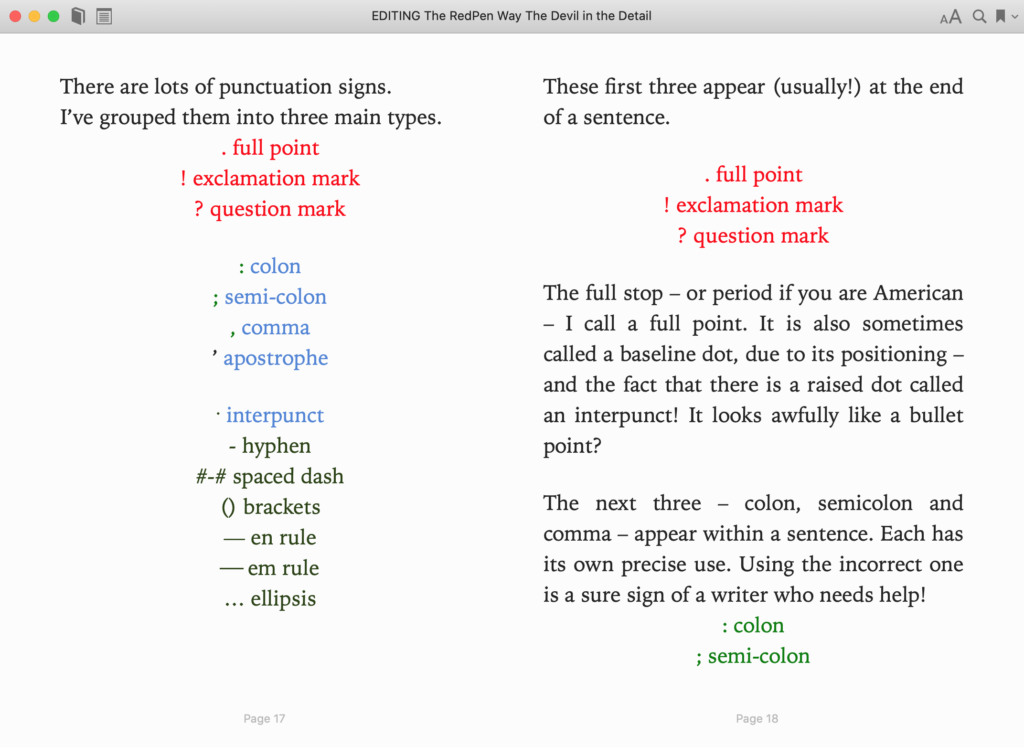
It’s not clear to the reader that these are links, but if you want the hyperlinks to be formatted differently … apply the formatting to the link text, eg underline it. (You can do this before or after you set up the link.)
Notice that, once the reader is at the ‘Colon’ page, there is a link back to where they were, in the bottom left of the screen. So, they can jump back to that, if they wish.
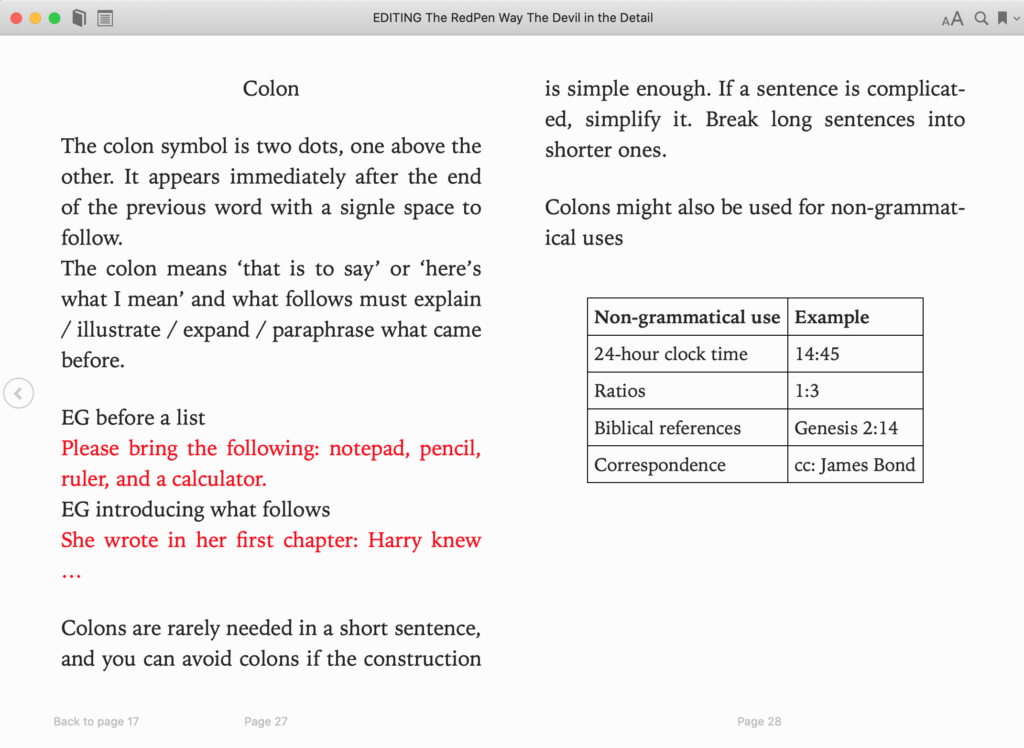
If you want to leap to somewhere within a document, rather than to the start, you’ll need to apply the same cross-referencing technique that’s used for figures and tables. This post explains how that system works.
External links
External links allow the reader to jump to a URL via a browser. Clicking this link automatically opens the browser and fetches the relevant page.
Again, these links only makes sense if you’re producing an electronic product. If you’re outputting to paper, you’d provide the reader the relevant URL and expect them to open their browser and type in the URL for themselves.
How to insert an external link
Having highlighted the link text, as well as the right click route explained above, there are two more routes to the ‘Add Link’ feature, plus a keyboard shortcut: cmd K.
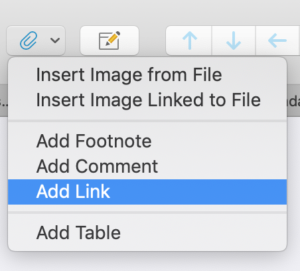
Using the Insert icon
The paperclip icon is one of the default option on the toolbar. In other applications, this icon tends to signify an attachment, but, if you click on the down arrow, a drop-down menu provides a selection of additional options, including Add Link.
Using the Edit menu
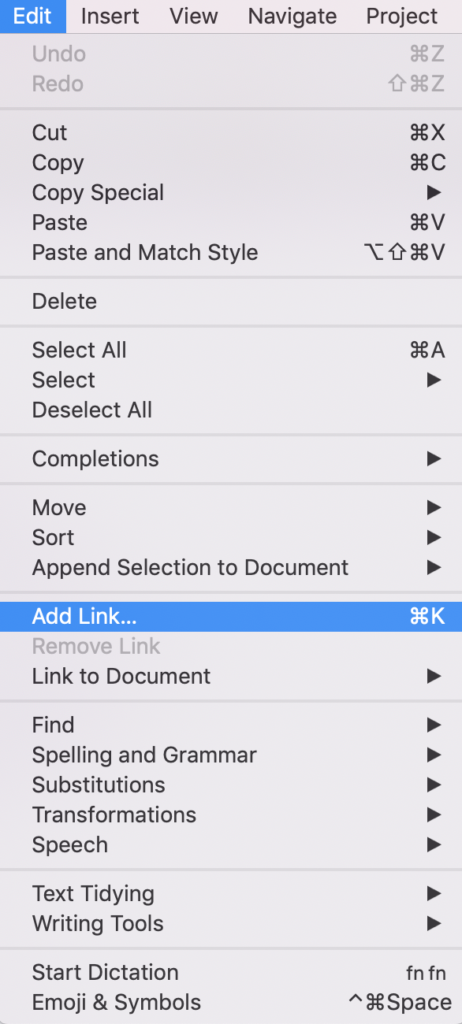
You can also access the Add Link via the Edit option on the Main menu bar. (No, not the Insert drop down!)
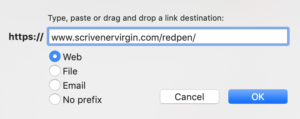
Whichever route you take, this pane opens with four options: web, file, email, no prefix.
For my example, I’m giving a link to my ScrivenerVirgin website for anyone interested in learning more about joining RedPen.
This is how it looks on the page.
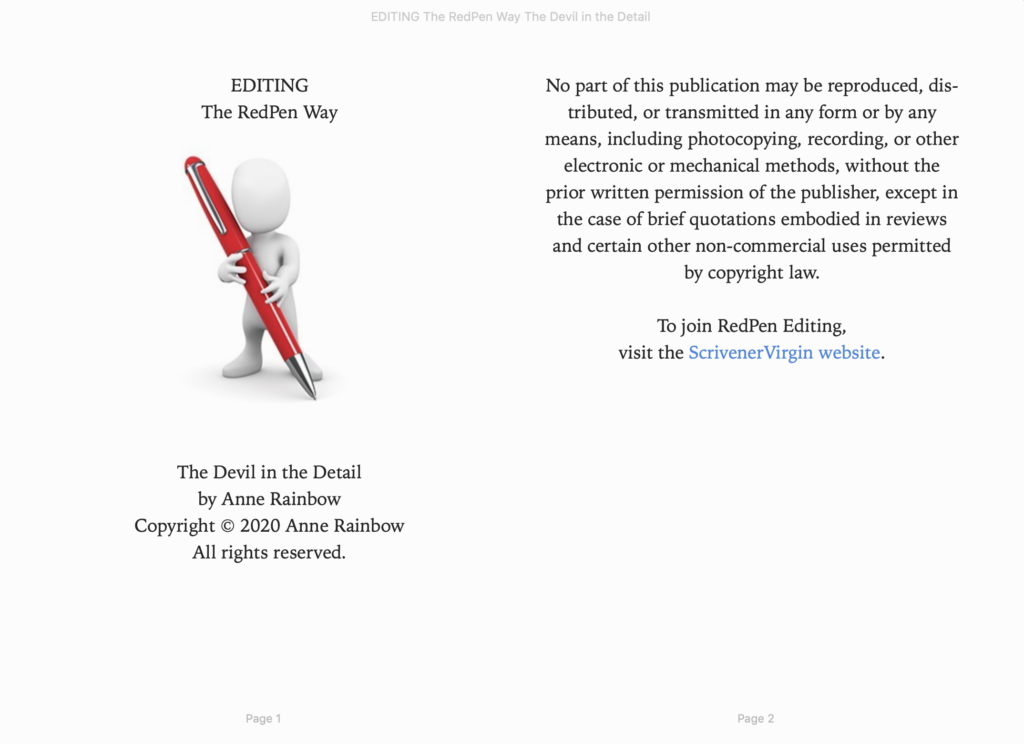
I’m happy for the link text to appear in blue, but if you want it underlined, format the text accordingly, as with the internal links.
Wanna be my beta reader?
As you may have noticed, the screen grabs for this blog post are from my forthcoming eBook EDITING the RedPen Way: The Devil in the Detail, due to be published in 2020.
If you would like to become a beta reader for this publication, please apply to join this Facebook group.
Any questions? Need a helping hand?
To watch me go through the process of setting up internal or external links or to ask any questions, book a Simply Scrivener Special.
To help me to prepare for the webinar, you could also complete this short questionnaire.
The ScrivenerVirgin blog is a journey of discovery:
a step-by-step exploration of how Scrivener can change how a writer writes.
To subscribe to this blog, click here.
You can also find links to blogs of specific topics in the Scrivener index.
Also … check out the Scrivener Tips
on my ScrivenerVirgin Facebook page.


No Comments