
Placeholders: Current Date and Time

The preamble to Headers and Footers section in the List of All Placeholders (available via the Help menu) explains that only a limited number of placeholders are supported within headers/footers …

… and that’s only the placeholders listed in these sections of the Compile group.
- Page Numbers – which we covered in the third post in this series.
- Current Date and Time
- User and Project Information – which we covered in the fourth post in this series.
In this blog, we focus on the remaining one of these three: Current Date and Time.
Note though that the Current Date and Time tag words – as useful as this data could be in a header/footer – might also be included elsewhere in your manuscript. For example, you might include the date somewhere in your Front Matter.
Current Date and Time tag words
At first sight, there are a lot of tag words to choose from.
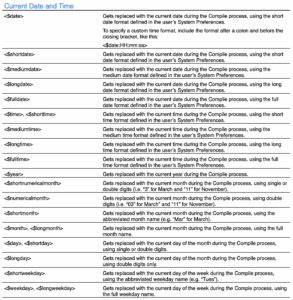
Closer inspection reveals only a few simple choices are needed.
- First, notice that most of the explanations refer to the user’s System Preferences.
- Then, notice the use of terms: short, medium, long, full.
Systems Preferences
To access your Systems Preferences (on a Mac), go to the top left hand corner of your screen and click on the apple icon.
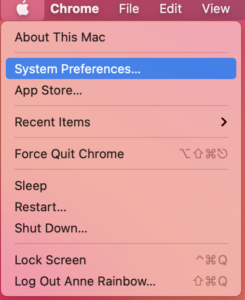
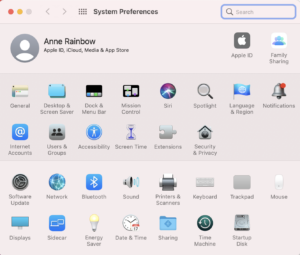
Clicking on Systems Preferences opens a window.
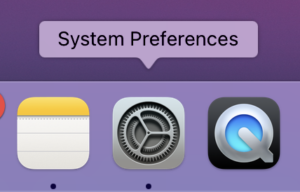
I can also access this window via an icon at the bottom of my screen.
Whichever route you take, the icon which allows you to set your options for date and time is called (surprise, surprise!) Date & Time.
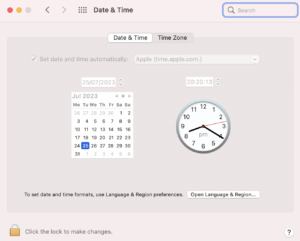
My screen grab of the next window shows how late I work!
The important setting though is your time zone.
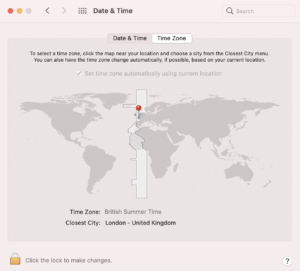
Although I live in the southwest corner of England, the closest city is London and I am (as I write this post) on British Summer Time. Your setting will most probably be something different …
Going back to the previous window, notice the Open Language & Region button. This takes you to the settings pane.
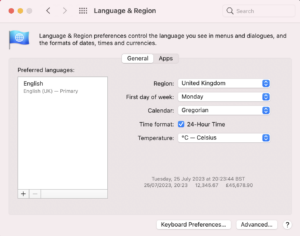
Within this pane, there’s also an Apps pane.
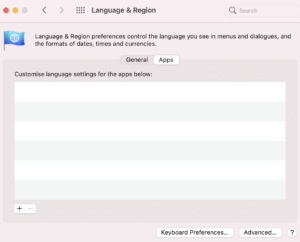
Clicking on the + sign gives you the option to change the settings for a specific App.
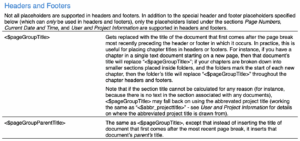
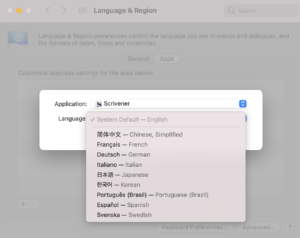
And then … the Advanced button takes you to where you can change the settings for Dates …
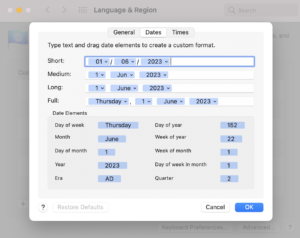
… and Times!
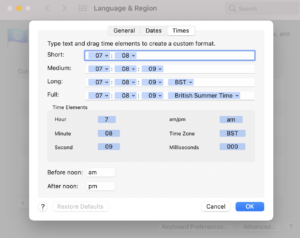
Short, Medium, Long, etc
In summary, this is the effect of using each of these tag words. I created a document in Scrivener and set up all the placeholders to show how the tag words would appear when compiled – according to my own settings in Systems Preferences.
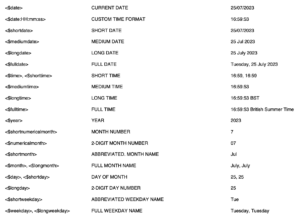
How did I create that first column? Tag words that didn’t compile as tag words?

As per the instructions, I placed a backslash before the tag word.

Clever, eh?
But, back to Date & Time: you can decide your own settings … using the route explained above. Enjoy!
Questions about Scrivener?
Need a helping hand using tag words? Want a demo? Book your own Simply Scrivener Special session with me, at a time to suit you.
And, if you need a steer on self-editing, check out my RedPen Editing courses. Join RedPen Editing and enjoy a 5-day editing taster course for free.
The ScrivenerVirgin blog is a journey of discovery:
a step-by-step exploration of how Scrivener can change how a writer writes.
To subscribe to this blog, click here.
Also … check out the Scrivener Tips
on my ScrivenerVirgin Facebook page.


No Comments